We have officially been Omnipod 5 podders for 3 months now. If you follow our instagram you may be aware that all three of us started on the new Omnipod 5 insulin pump back in May.
I am excited to share our experience with the new Omnipod 5! This post is NOT a paid partnership in any way. We aim to be 100% transparent.
In this post I will be sharing my own A1C prior to Omnipod 5 and the current A1C after 90 days on Omnipod 5. In the past many of you have expressed finding A1Cs to be triggering, if you are someone who feels this way and you aren’t considering the Omnipod 5 you may want to skip this post. I am only sharing my own A1C and will not be sharing Emma’s or Tylers since that is their own medical history. I feel this is the simplest way for people to track our progress using numbers. Everything that is talked about in this post is from our personal experience, everyones settings are different so please discuss your treatment with your doctor prior to making any adjustments or medical changes.
Here is what we will be covering in this post:
- Set Up
- Initial Settings
- Adjustment Settings
- Omnipod 5 Overnights
- Omnipod 5 At School
- Our Tips
- Your Questions
- Our Overall Experience
- How it compares to the LOOP, T:Slim, and Omnipod DASH
- Accessories and Supplies for Omnipod 5
Set Up
On May 15th we picked up our 3 Omnipod 5 Starter kits! This kit includes:
- The new PDM
- 10 pods
- A silicone case
- Pod pal over-patches
- Charging cables
- Instructions for online training
- The Omnipod 5 handbook.
Each of us had to complete the online training before we were able to put in our first pod. The training took about 40 minutes each. It covered things like the automated mode alerts and warnings, and how to prepare and start your pod. Training went over how to connect your Dexcom CGM, differences between manual, automated, activity, and limited mode. It taught us how to use the Omnipod app, and where to place your CGM and pod for good connection.
We found the training to be good but a little repetitive! After the training I did feel that every question I had going into setup was addressed. I highly recommend paying extra close attention to the training that deals with alerts and alarms. I suggest sharing the link to training with other people who may need to care for the Omnipod 5 user! If your child is starting the Omnipod 5 make sure their school nurse and teachers have access to this training. I will be sharing links to resources we created for Emma’s school nurse!
Initial Settings
We transferred our settings from our previous pumps exactly as they were. For the first pod we did not increase or decrease our basal whatsoever. Our target was set to 110, this is the lowest target Omnipod 5 offers. We set it up so the pump will allow for a correction bolus when we are above the 110. We turned off the reverse correction setting. This is the setting that will deduct insulin from your bolus. It will try to bring your sugar up to the 110 target. We prefer to keep our sugars at a target of 90. So turning this off was essential for all three of us. If you prefer a target of 110 you may want to leave the reverse correction on.
Our Glucose Goal Range are set to 70-120. This will reflect what you see as your CGM in range % under the history setting in your Omnipod. Make sure to set your basal and bolus limits. These limits are a safety feature that will help protect you from bolus mistakes. I will post screen shots of my initial settings below. Remember everyones settings and insulin ratios are different. Please speak with your doctor prior to making any changes to your medication.


When we began managing our diabetes on Omnipod 5 we were advised by our trainer not to correct highs. They said not correcting will help the algorithm to learn. Tyler and I listened for our own care. But because of Emma’s history and experience with seizures we decided to correct her sugar. We kept her corrections the same as any other pump. When her sugar rises above 140 we start correcting.
The outcome of our initial settings was good. We saw our lows drastically decrease almost immediately. In fact, our first night on the 5 was the first night we were able to sleep through the night since Emma was diagnosed. Having three diabetics in one family means that we almost always had at least 1 low every night. But with Omnipod 5 our lows seemed to disappear with the first pod! Emma, who had the most lows, was averaging 5% lows according to her Dexcom Clarity prior to Omnipod 5. After 30 days on the Omnipod 5 her lows was down to <1% with most of those being from not finishing her snacks or meals.
After the first month Emma’s Dexcom Clarity showed the most improvement! Her time in-range went from 78% to 88% with an average blood sugar dropping from 132-109 with 0% very low <1% lows and 10% highs 1% very high. Tyler and I didn’t see as great of a response. Our time in range did improve but mostly due to the decrease in lows. So our average glucose actually went up. My time in range went from 72% to 75% but my average blood sugar rose from 88-125 with 0% very low <1% lows and 20% highs 4% very high. (Note: all of our ranges are set to 70-140 and 180 as our very high.) Although we were happy that the management of our sugars seemed to become simpler. We still felt there was a lot of room for improvement for both Tyler and I.
Below is a photo of one of my spikes that Omnipod 5 brought down perfectly on its own. However, if I were to be correcting it on my own I would have began correcting sooner. The spike most likely would not have gotten as high as it did. The combination of Omnipod 5 working on my lows and correcting myself we have seen drastic improvement. (more about this in the next section)

Adjustment Settings
After the first 30 days we took a look at the “auto events” from the Omnipod 5 history. It showed that even though Emma was the one receiving the corrections, she had just as many auto events of her pump increasing her basal and decreasing then Tyler and I. This was almost the exact opposite of what we expected since we were told correcting would cause a delay in how the algorithm learned. We looked at boluses given to Emma with her Omnipod 5, we could see that she went from having 10-13 corrections a day when she first began to only averaging 2-3 corrections a day at the 30 days later, she is still having plenty of boluses since she is a growing toddler who is constantly snacking.
Tyler and I then reflected on our own data. We realized that we were seeing higher sugars after meals regardless of blousing correctly for carbs. This lead us to adjust our carb ratio as well as our correction factor slightly. Most importantly we did a pump reset so the algorithm could start fresh and we began correcting our high sugars. For Emma we didn’t make any adjustments. We felt that the algorithm was learning at a great pace. Since we were already so happy with her improvements. We felt they would continue to improve as the algorithm kept adapting to her needs.
Now reflecting back on our current data I am happy to report we have all seen huge improvements in blood sugars, A1C, and ease of diabetes management. Below is my A1C from prior to starting Omnipod 5 followed by my A1C after being on Omnipod 5 for just over 3 months. This A1C is my personal best, I am proud of myself and thankful for the help Omnipod 5 has given to me in the last 3 months to help me achieve this. My Dexcom clarity shows an average glucose of 98 (although I do agree with my A1C results estimating an average closer to 103 since I am often in the low 100’s rather then 90’s) 0% very low <1% lows 92% in range 7% highs 0% very high.


Just so you are aware this was achieved with the help of Omnipod 5 but like I mentioned we are still correcting our blood sugars. We are using the Omnipod 5 as an assistant to help us with diabetes. I look at my data and feel that Omnipod 5 has allowed me to avoid lows almost 100% of the time. It also helps me avoid spikes if my carbs were calculated slightly wrong. It keeps my over night blood sugars in a perfect line almost every single night (I wall talk more about this in the next section) but I am still correcting my blood sugars when ever I feel that I will rise above 120, most of the time I am correcting when ever I am at or above 115.
Omnipod 5 At Night
Being on Omnipod 5 for the last 90 days has seemed like a dream come true over night! After 2 years of never sleeping through the night I am happy to report we have almost slept through the night consistently with only 11 nighttime lows in the last 90 days between all three of us. We are averaging about 1 nighttime low per month for each of us. This is something I thought I would never experience!
Unlike the corrections I give throughout the day these beautiful nights are 100% Omnipod 5. And to be perfectly honest this alone makes me feel that everyone should be on Omnipod 5!
Below is a slide show of several of our morning and overnight Dexcom graphs.


Omnipod 5 in School
When we chose to start Omnipod 5 we didn’t think of Emma starting school with new pump. Since this pump was so new it was the first time her school nurse has worked with the Omnipod 5. Her nurse was great and took the time to learn how to use the Omnipod 5.
Omnipod’s website does supply a page filled with resources: Here
I made a small 2 page visual guide to using the Omnipod 5: Here

Our Tips
- Use Omnipod 5 as an assistant to your diabetes! Don’t go in expecting this to replace your hard work or to function as a pancreas.
- If you are struggling with lows or highs overnight discuss this with your doctor. Most likely your settings need to be changed.
- If you feel the pump isn’t helping as it should check to make sure you are still in automatic mode.
- If you are new to pods in general keep notes of how the placement effects your sugar. It is possible to have different insulin absorption on different parts of your body.
- Take control of your diabetes and correct when needed.
- Record and track your progress so you can see when you may need to make adjustments to your insulin settings. The algorithm does take your settings into consideration. So changes may need to be made over time or when starting the new Omnipod system. Diabetes if always changing with hormones, metabolism, growth, weight, so over time your insulin needs adjusting. Tracking your progress will help you known when you need to make changes.
- If you are looking to keep your sugars at or below the 110 target. You must turn off reverse corrections.
- Make sure you set max limits for your basal and bolus this is a safety feature!
- Use your activity mode! It helps a lot with exercise, recess, play, and sports.
- Dont be afraid to reset the algorithm. If you aren’t happy with your current management on Omnipod 5 I suggest reviewing the data. Speak to your doctor about adjustments, and reseting the Omnipod 5 with the new adjustments.
Your Questions
Last week we put a question box on our instagram to find our what you wanted to know about Omnipod 5. Here are some of the questions we received:
- “Does Omnipod 5 work on the iPhone?” No not yet, the Omnipod 5 app is only available on select Samsung galaxy phones. Emma and I had previously used Samsung Galaxy s9+ phones but we returned to the PDM because we found the range to be better. I am able to bolus her from my room at night if needed using the PDM but I wasn’t able to connect using the app.
- “If the Omnipod 5 is not approved for children under 6, how is Emma on it?” This is true Omnipod 5 is still in the process of receiving FDA approval for children younger than 6 years old. Since Emma is only 3 we spoke with her doctors and discussed the risk and benefits that this pump system would offer her. We chose to go through with the Omnipod 5 with the approval of her doctor. Her endocrinologist was able to send the prescription for both the started kit and refill pods to our local CVS pharmacy. Since Omnipod 5 is not FDA approved yet the Insulet team is unable to assist with insurance coverage or prior authorizations so you will have to do this on your own or with your doctors help.
- “Just started Omnipod 5, thank you for all your help! My son is already making amazing progress! How did you help Emma adjust to wearing a pod?” This is a common problem with Emma, because of her autism we stuggle with fixations. Which means at times she will pull off pods due to fixating on them. One thing that helps is using pump stickers, fun overpatches, and pump pops help Emma find her pod less scary. They help make it so Emma wants to keep her pump on.
- “Suggestions for week 1 on Omnipod 5” With our experience I recommend correcting the highs and reviewing your data to make adjustments every 3 days. An easy way to do this is to check clarity for patterns of highs or lows.
- “We have had a few inaccurate Dexcoms I am nervous about the pump working with Dexcom if it could be inaccurate. Any Advice?” We always test Emma’s sugar in the morning and before bed to make sure Dexcom is accurate. We have noticed we have the most inaccurate sensors when we are dehydrated so make sure to stay hydrated.
- “Do you suggest basal Testing” Tyler and I have done basal testing to ensure our basal is still functioning properly. For Emma this is very difficult. A day of only eggs and cheese is not practical for our very opinionated toddler. I feel basal testing is great if you are able to but Emma has seen great results with out it.
Our Overall Experience
Overall we are very happy with our diabetes management on the Omnipod 5. In the last 90 days we have seen improvement in all of our averages and time in range. However, there is a learning curve!
We treat Omnipod 5 like an assistant in helping us to manage our blood sugars, but we still put in a lot of work. Omnipod 5 has taken away a lot of my anxiety when it comes to low blood sugars because it does an amazing job of preventing and correcting lows! For the first time in years a full night of sleep has become our norm, and I believe this is 100% thanks to Omnipod 5’s management of blood sugars while we sleep. Omnipod 5 has been a great addition to our diabetes care, but don’t expect it to replace your efforts.

How Omnipod 5 Compares to LOOP, T:Slim, and Omnipod DASH
If you have been following us for a while you are aware that over the years we have tried almost all insulin delivery systems. I have been diabetic for over half of my life, that a lot of time to try different management and delivery methods. When I posted our question box on instagram the majority of our questions related to comparing Omnipod 5 to other delivery methods: Loop, T:slim, and previous Omnipod models.
Loop
If you aren’t aware LOOP is a DIY open source automated closed loop inulin delivery system that you build using a Riley Link or OrangeLink and www.Loopdocs.com. This can be used with original Omnipod pods and older Medtronic pumps. Emma was on this for a very short time. Not because we were unhappy with the results but because her school and doctors didn’t feel uncomfortable with her on a “pump” that is not yet FDA approved or regulated. They just didn’t no enough about it to feel comfortable having a young child use it. But that doesn’t mean its not the right option for others so here is how they compare with our own experience.
Pros for LOOP: LOOP is much more customizable than Omnipod 5. You are able to set targets below 110, pick from multiple algorithm options. The LOOP gives automatic correction boluses and Omnipod 5 is only able to give increased basal dosages to correct a high. You can build the app to work on your iPhone and Apple Watch.
Cons for LOOP: It’s not FDA approved so you may struggle to find a doctor who is willing to help you, especially for children. You need to build the app yourself using the Loopdoc instructions, which can be difficult if you are not familiar with the process. You don’t get the same customer support and assistance as you do from pump companies like Omnipod, Medtronic, or tandem.
Our Experience: We liked LOOP and don’t have anything negative to say bout our experience. To be honest we would most likely still be on this system if Emma wasn’t in school. I feel that the systems do compare similarly with the help managing our diabetes however, being able to customize your target below 110 is a huge plus that the LOOP has over Omnipod 5.
T:Slim
This was our most requested comparison. It is also the pump we used the most and have the most data to compare to Omnipod 5. If you aren’t aware T:Slim is the Tandem Diabetes insulin pump. It is an automated insulin delivery pump when you use its ControlIQ feature. Like Omnipod 5 it has a set target of 110 that you can’t lower.
Pros for T:Slim: It delivers both basal and bolus adjustments on its own. Sleep mode is a great feature not offered on Omnipod 5. The insets have smaller adhesives that go on your skin.
Cons for T:Slim: Its tubed, this is a huge con with small children.
Our Experience: T:Slim is an amazing pump however the tubing is difficult for Emma. On T:Slim there was a lot of lows which Omnipod 5 was able to fix as soon as we started. There was a lot of “rollercoaster” days (filled with constant highs and lows) on Tslim, we made a to of adjustments but never found the perfect settings. We know many people who this pump has worked perfectly for so I assume this is user error on my part. The algorithm was very intense for someone Emma’s age, it was difficult to keep her sugar from going low unless she was constantly in sleep mode. Most of the time we kept her T:slim in sleep mode most of the day. In my opinion Omnipod 5 for the win!
Omnipod DASH
Omnipod DASH is the previous model of Omnipod insulin pumps. We enjoyed our time on the DASH, it is very user friendly and it was our first tubeless pump. To be completely honest, I do believe the Omnipod 5 was a huge improvement from all previous Omnipod Models.
Pros for Omnipod DASH: The view app was nice
Cons for Omnipod DASH: No Automatic Insulin Delivery, Doesn’t not connect to Dexcom or any other CGM. Basically Omnipod 5 in manual mode.
Our Experience: We prefer a pump that is able to assist our diabetes management. With previous Omnipod models we didn’t have that feature so I think the Omnipod 5 is the best option that Omnipod has available right now!
Accessories and Supplies for Omnipod 5
On to the fun part! Below are photos and links to our favorite Omnipod 5 accessories:


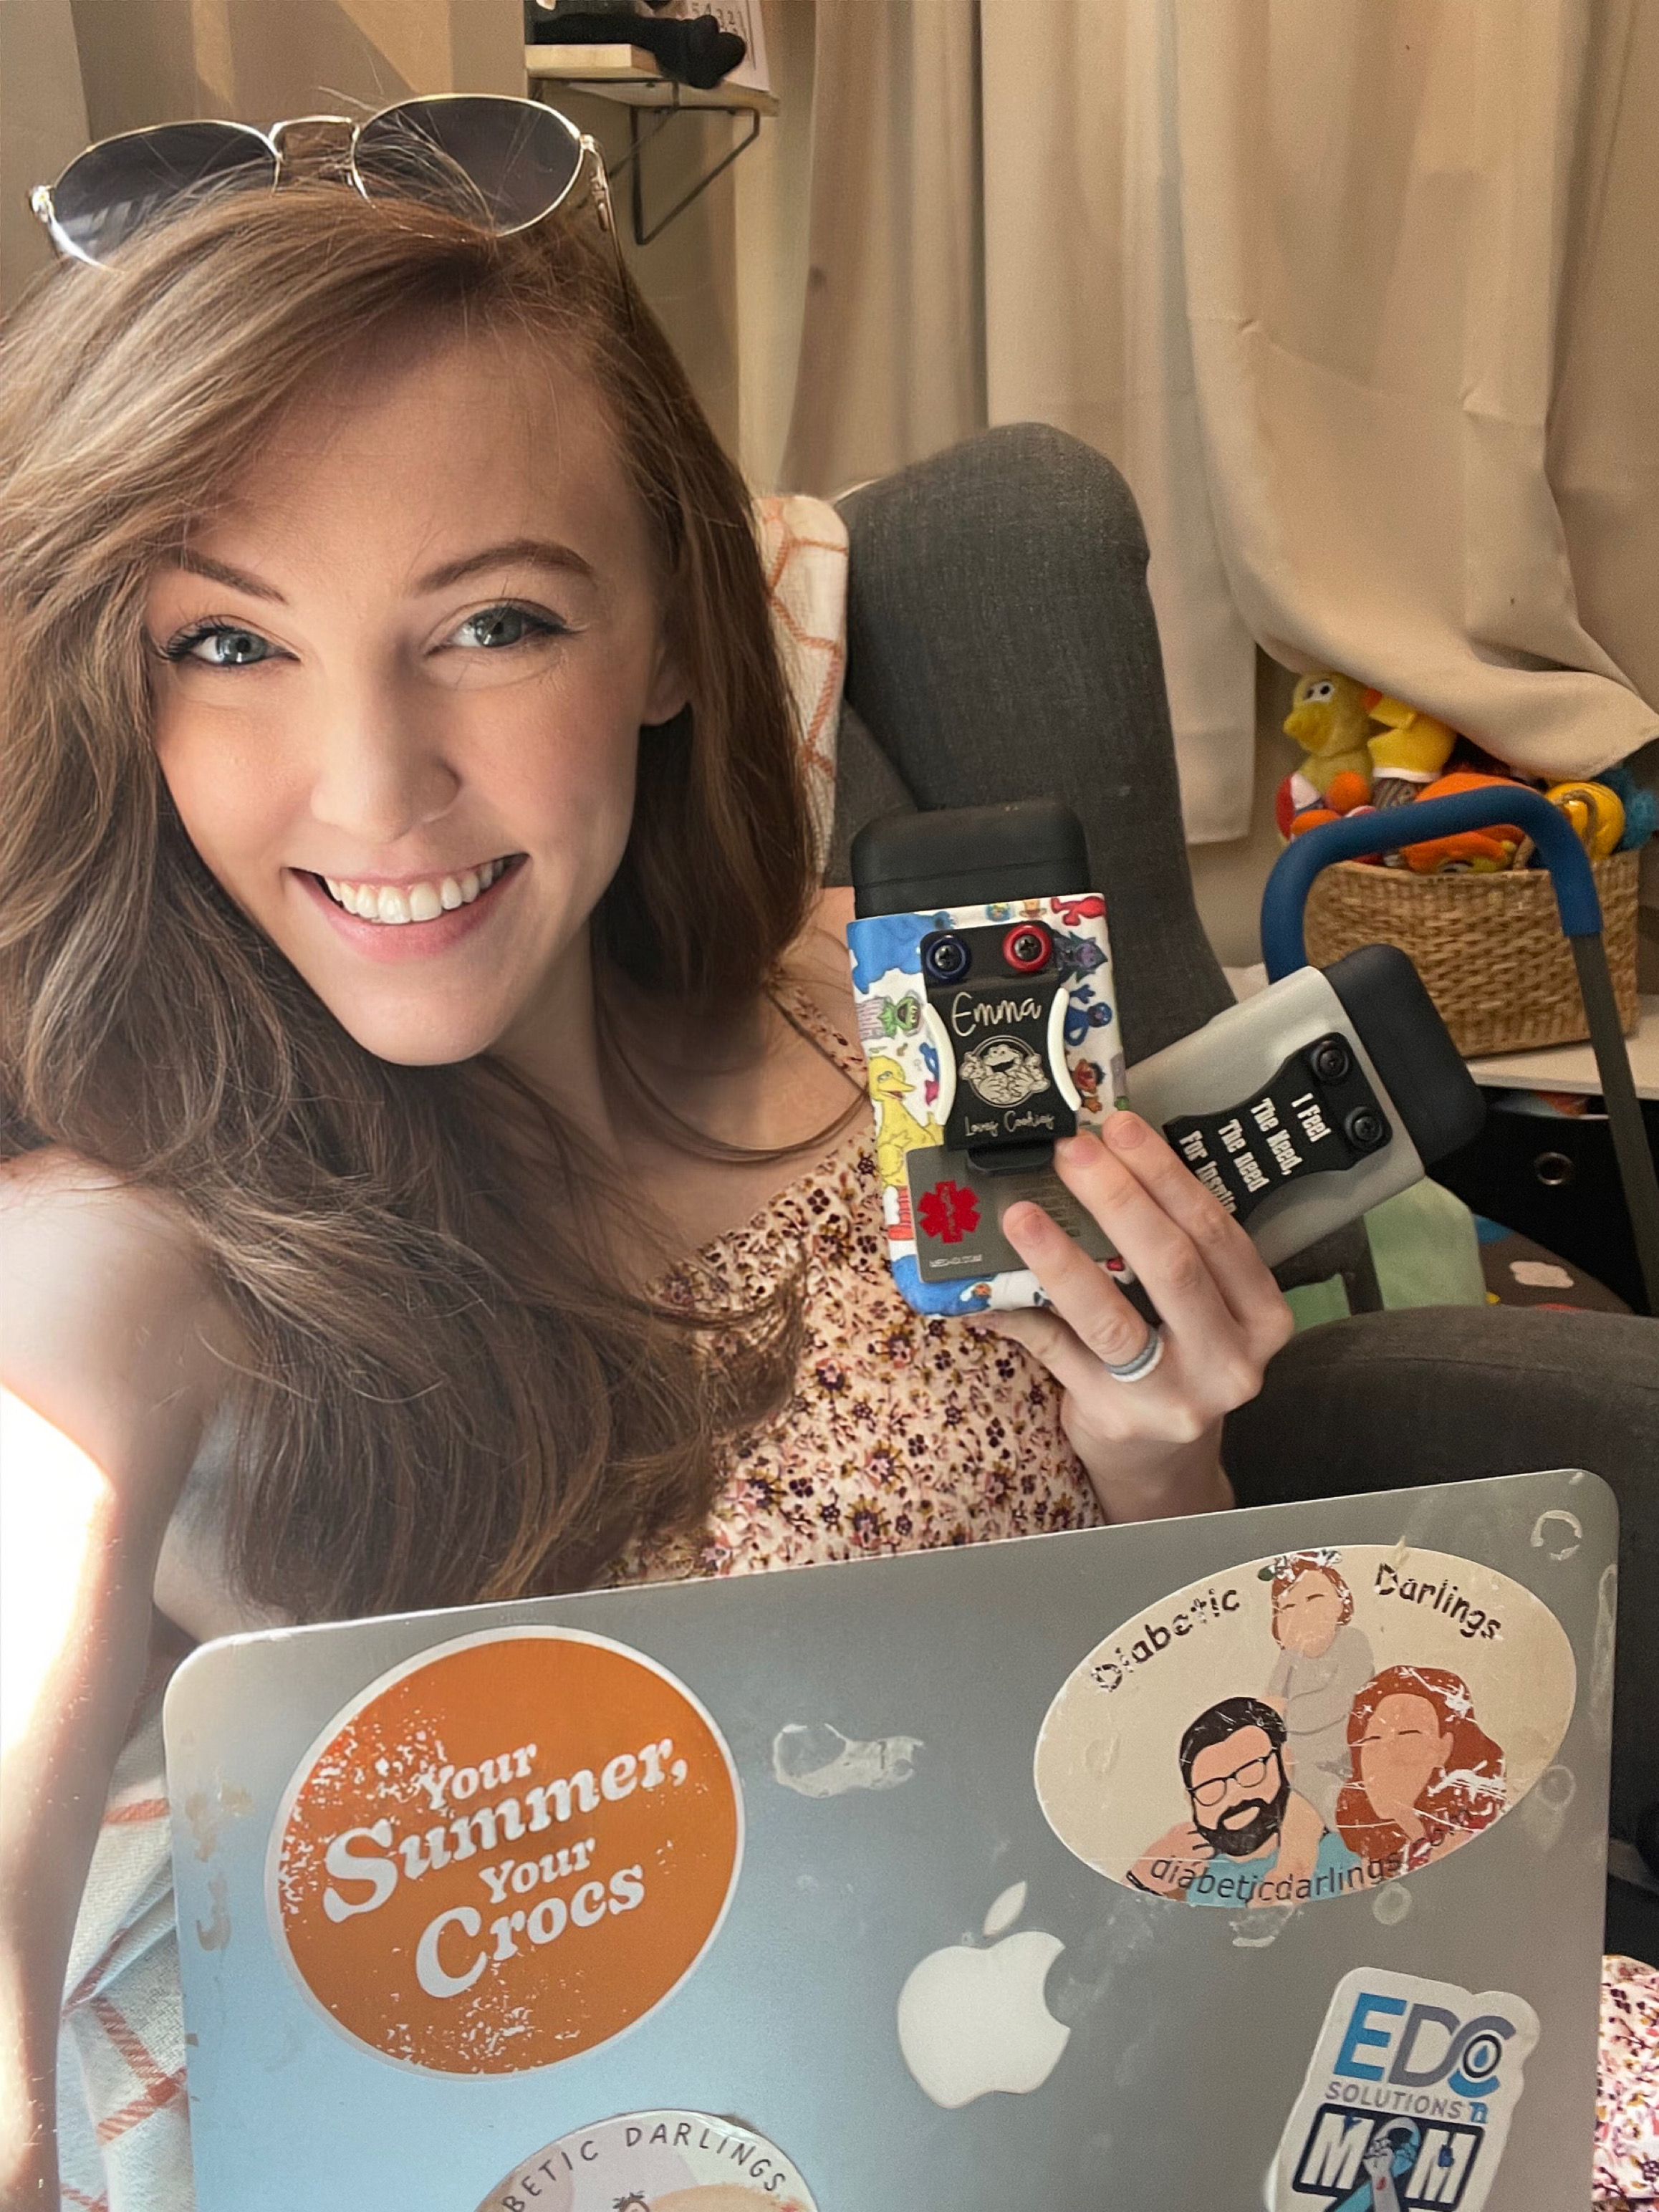
Case/ Clip: EDC SOLUTIONS T1
Link: https://edcsolutionstype1.com


Pod Stickers: Lukas’ Part Time Pancreas
Link: https://www.etsy.com/shop/PartTimePancreas
Silicone Pod Covers (these can help you reuse the stickers too): Sugar Medical
Link: https://sugarmedical.com/?ref=INSPIRINGTHEGIRLS
Coupon Code: Inspiringthegirls

PDM Medical ID: American Medical ID
Link: https://www.americanmedical-id.com

Over patches: Skin Grip
Use discount code: Michelle
Link: https://skingrip.com?ref:Inspiringthegirlshttps://skingrip.com?ref:Inspiringthegirls